Cubbies
Cubbies are like digital moodboards. They give you a freeform canvas where you can arrange files, write sticky notes, draw annotations, and organize your ideas visually.
Creating a Cubby
You can create a new cubby a few ways. Press Ctrl+N, or the command menu. Give it a name and it appears in the sidebar under the Cubbies section. Each cubby is stored in the backend with its own set of items and layout.
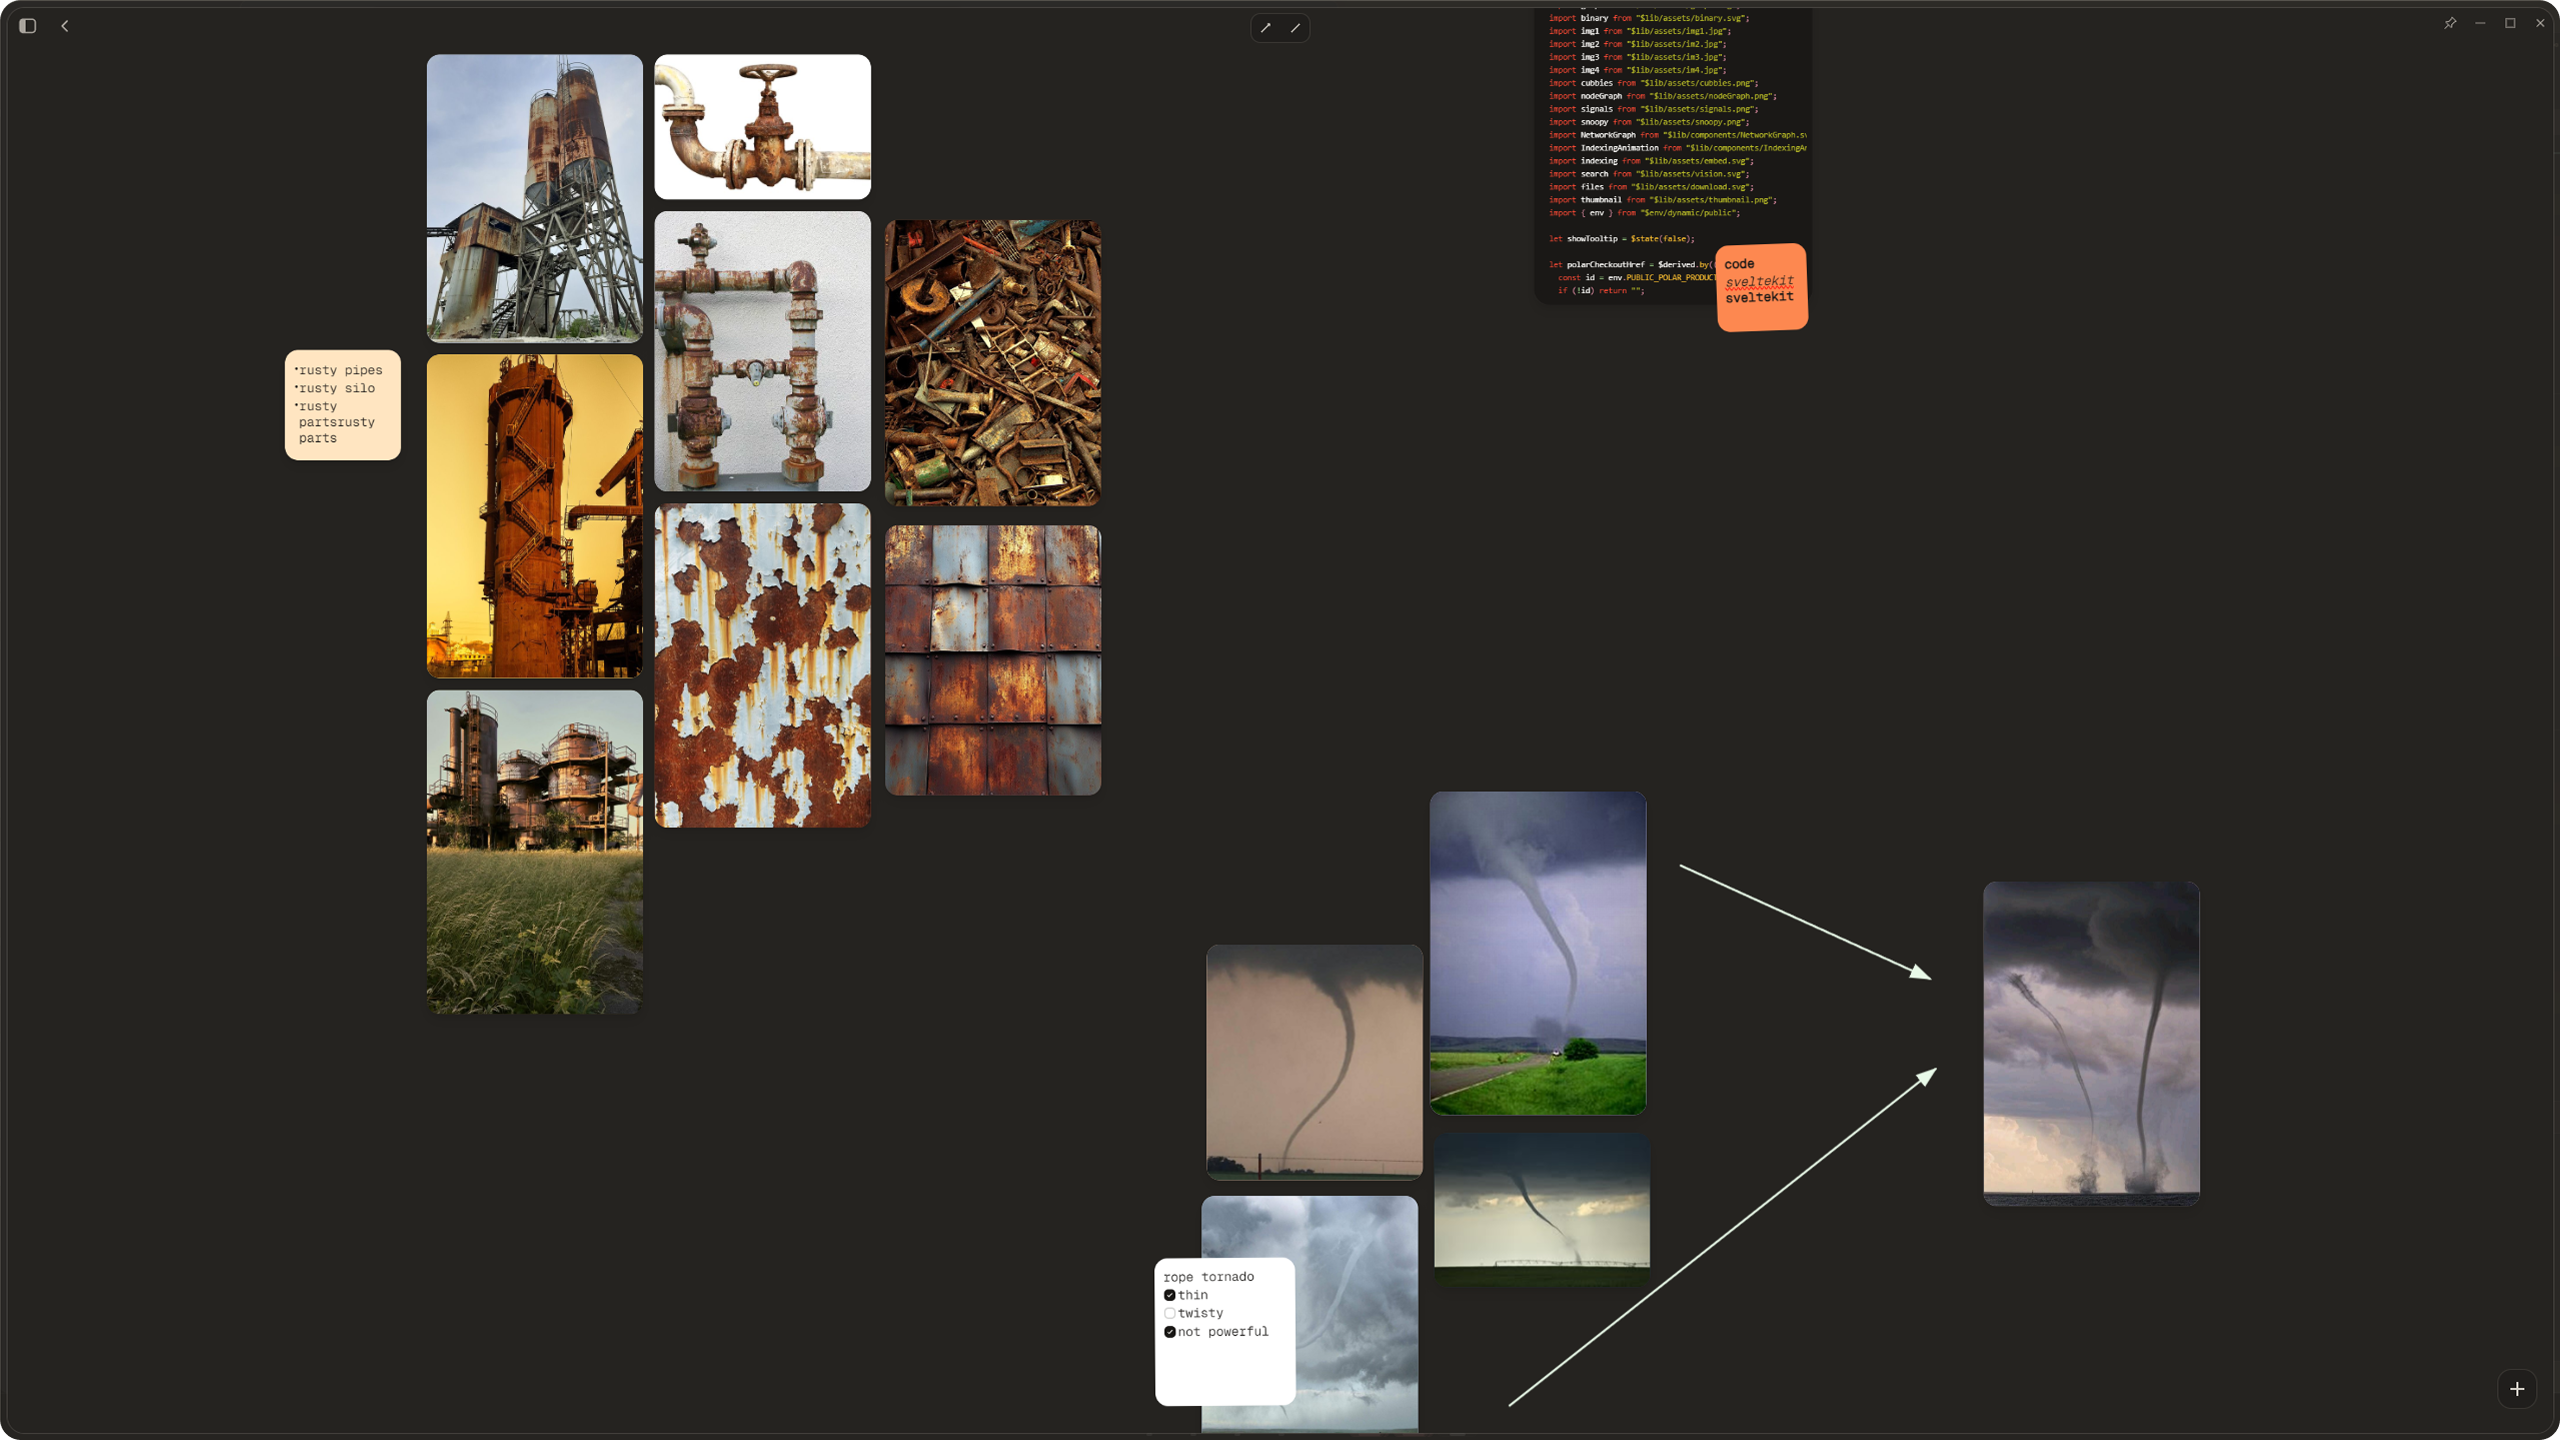
The Moodboard Canvas
When you open a cubby, you see a large canvas area. This is your workspace. You can pan around by clicking and dragging on the empty canvas (momentum based, friction at 0.92). Scroll to zoom in and out. Double click an item to zoom right to it.
Everything on the canvas is positioned with translate3d transforms, so it is smooth and hardware accelerated.
Adding Files
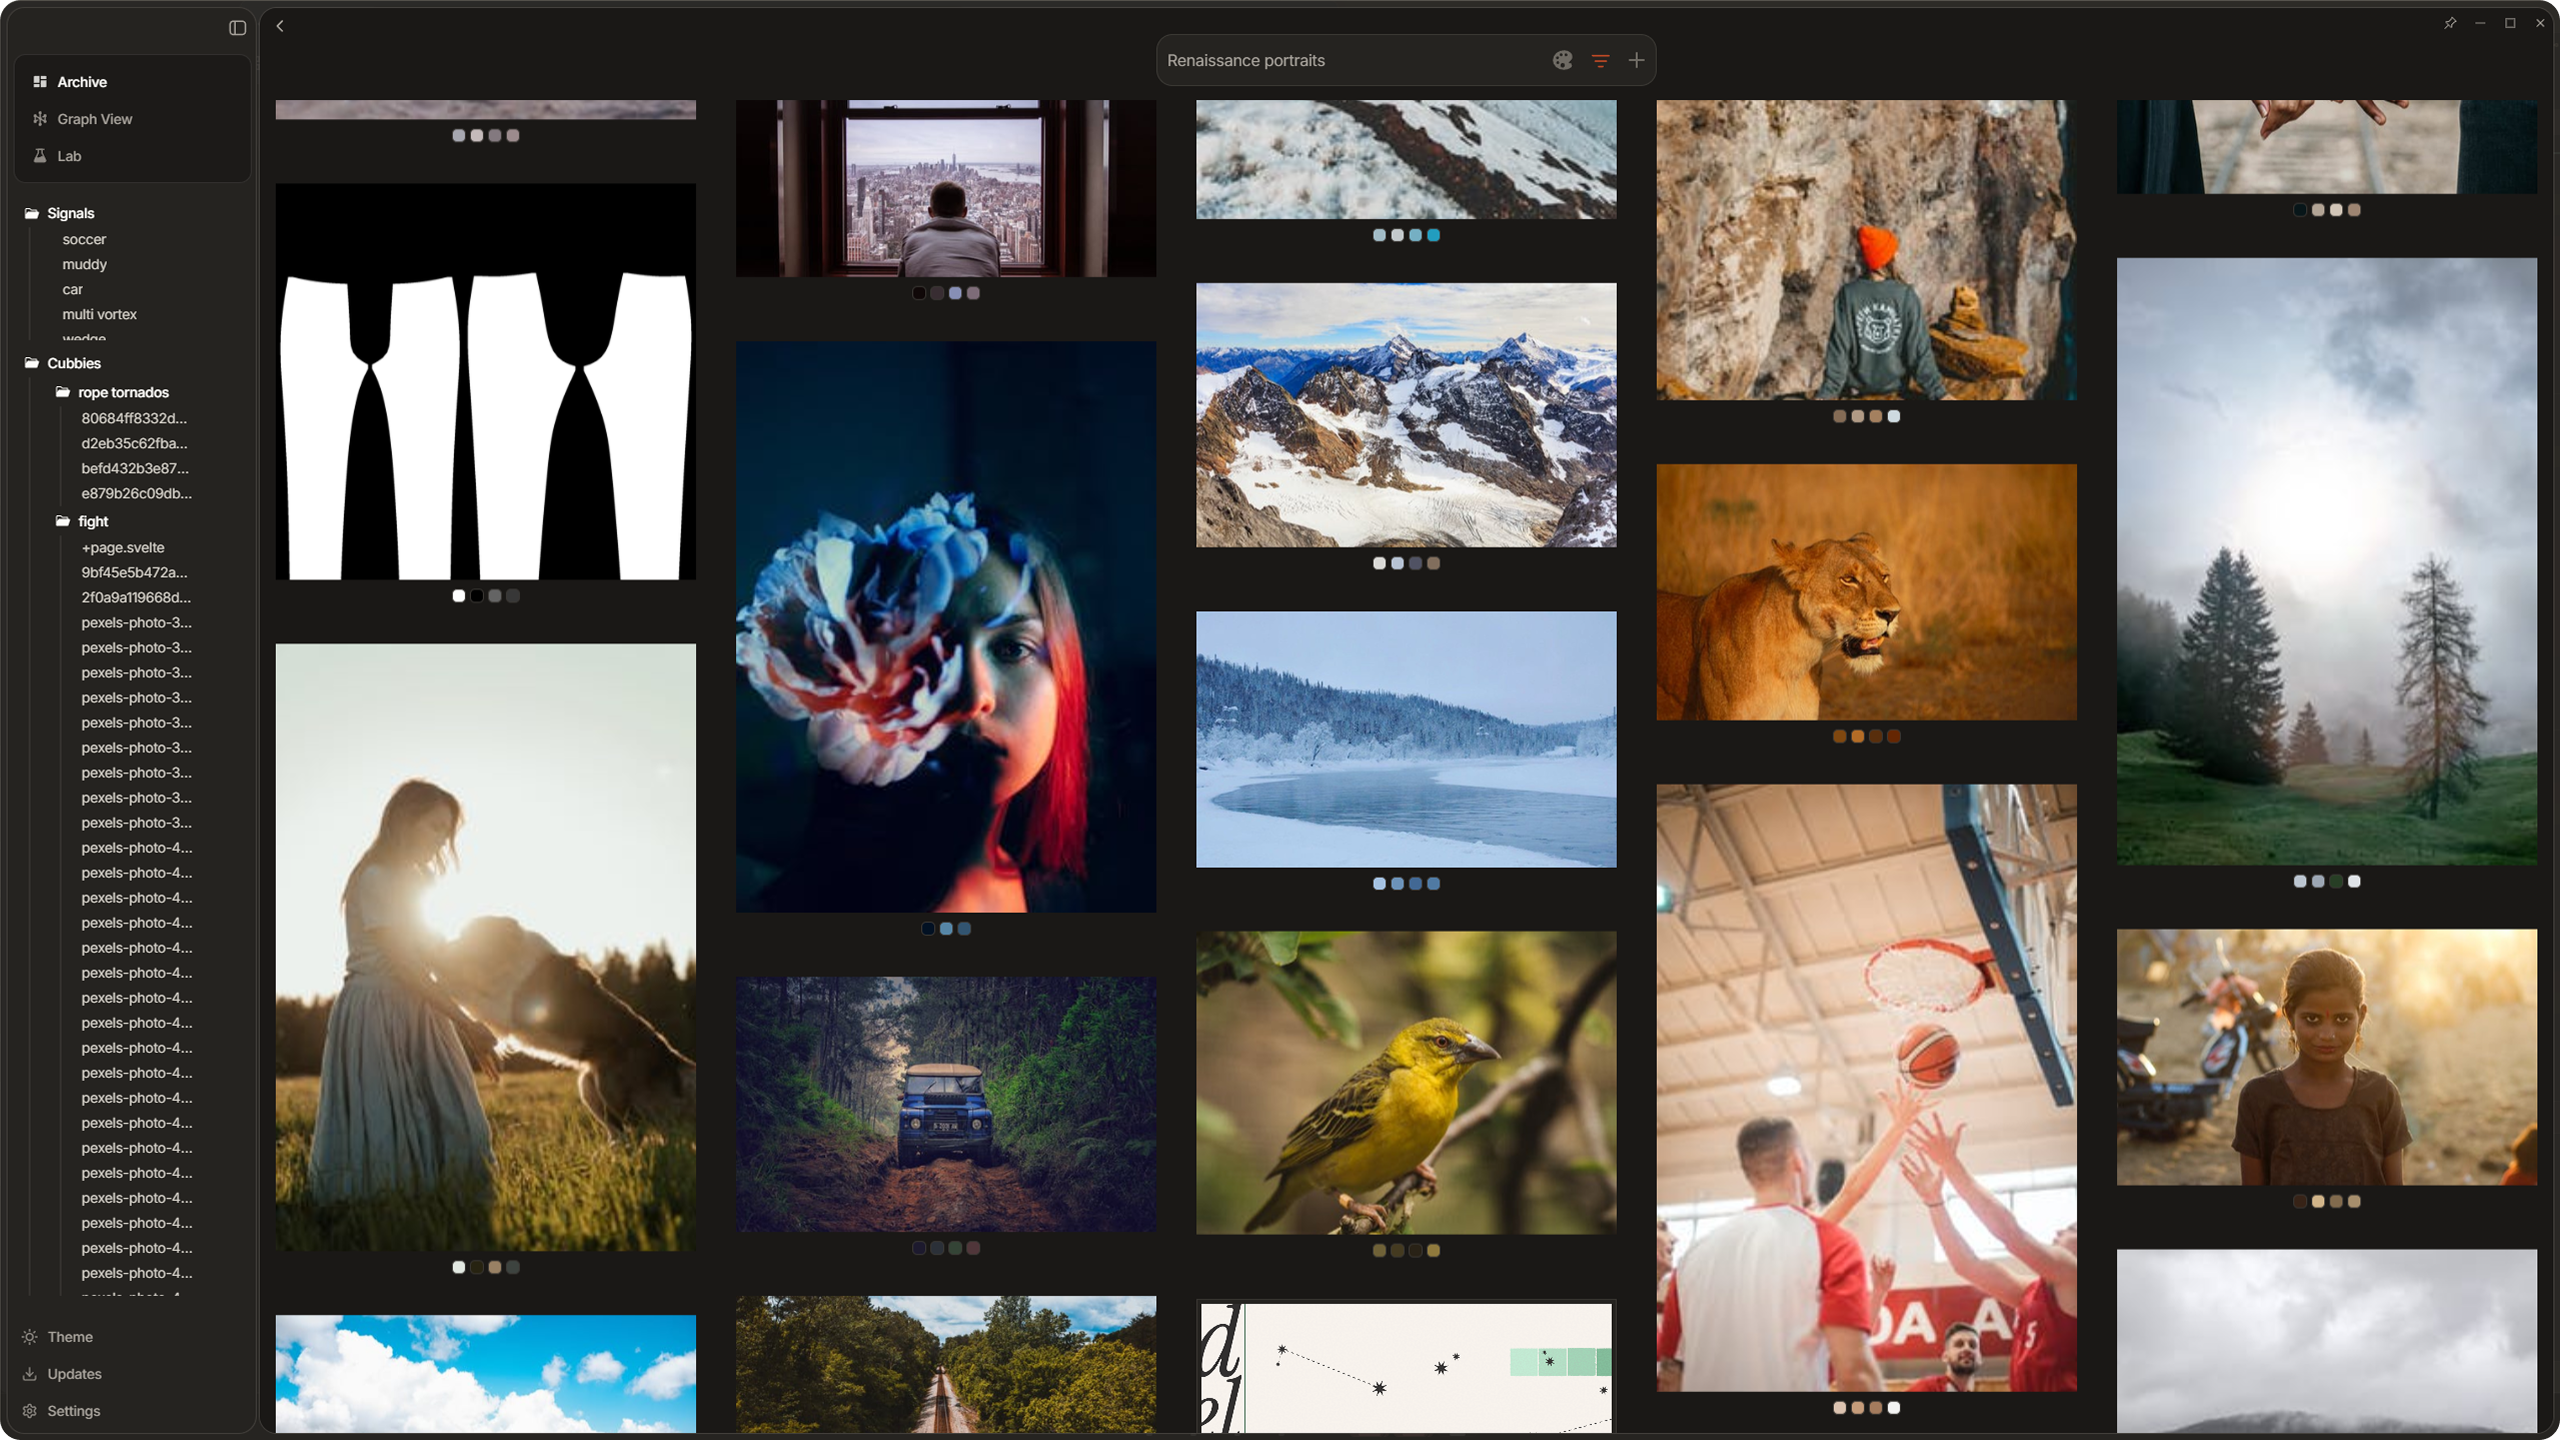
Open the Add Files dialog from the toolbar or context menu. You will see a filterable grid of your archive images (anything not already in a cubby), paginated at 50 per page. Select the ones you want and they appear on the canvas.
You can also rectangle select images in the gallery and hit the add to cubby button at the bottom, this will allow you to bulk import files into cubbies. Audio files have a fixed height of 120px (you can only resize them horizontally), while images and other items keep their aspect ratio with a base size of 300px.
Sticky Notes
Sticky notes are inline text blocks that live on the canvas. Each note has multiple lines, and each line supports formatting via slash commands. Type "/" at the start of a line to see the command menu with options for bold, italic, underline, bullet lists, numbered lists, and todo checkboxes.
Press Enter to create a new line (it inherits the formatting of the current line). Press Backspace on an empty line to remove it. The last line cannot be deleted, so you always have at least one line in a note.
Sticky notes come in 17 pastel colors. Use the Blossom color picker (an animated radial layout) to change the note background. Notes auto save after 500ms of inactivity.
You can attach a sticky note to a file on the canvas. When you move the file, the note moves with it. This is great for annotating specific images.
Annotations
You can draw arrows and lines on the canvas to connect items. Select the annotation tool from the toolbar, then click and drag on the canvas to draw. Each endpoint has a handle you can grab to adjust the line. Annotations can be colored using the color picker. Like everything else, they auto save to the backend.
Working with Selections
Hold RMB and drag on an empty area of the canvas to draw a selection rectangle. This selects all items, sticky notes, and annotations within the box. Selected items can be moved together and deleted in bulk.
Grid Layout
Select a group of items and use the Grid action to arrange them into a smart grid. Dotient calculates the column count based on aspect ratios and uses a shortest-column-first packing algorithm to fit everything neatly. This is useful for quickly organizing a scattered canvas.
Clustering
Select a set of items and hit the Cluster button to group them together. You can pick the cluster size (anywhere from 2 to 5). You are also able to adjust the spacing between files within a cluster with a slider. To access these cluster adjustment sections, simply hold down on the cluster button with LMB for more than a second and the modal will popup directly above it. Useful for grouping related reference images or building little visual collections within a cubby.
Undo and Redo
Cubbies have undo/redo support (up to 50 actions in history). This covers position changes, deletions, and grid layouts. If you close the cubby with unsaved changes, you will get a warning before navigating away.